There are 3 main stages to the process of Jumputan.
1. To come up with the design. This is the toughest part of all, as reflected by the Jumputan group, as you would have to crack your brain on how to present the desired pattern. The students were provided with marbles and rubber bands during the try-out to experiment forming a design on the cloth.
It is important to note the tightness of the tying. Tying the cloth tightly prevents the tied area from coming in contact with the dye. If not, the dye may get into the unintended area of dyeing, affecting the end product. The difficulty level increases as you have to ensure that there are no creases at the site of tying at the same time.

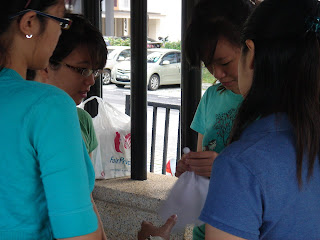
Focussed. Ibu Liana was guiding this group on the way to tie the cloth tightly yet without creases, so that the colour would not turn out uneven after dyeing.
Note: Only one colour can be added to the cloth each time; so light colours should come before the dark ones.

Colouring dye. It's dark blue!
3. Finally, the cloth is left to dry before rubber bands and other stuffs used are removed, and the artwork is done!
It was the Jumputan group's first meet-up on the day of interview. The whole group was split into 3 smaller groups for discussion. Most group members commented Jumputan as 'Sulit!'; in that coming up with the design can be very tedious. Despite so, they enjoyed themselves in the process of Jumputan, which can be evidenced from the laughters heard during each small group discussion. Let's await to see their creative end products on D-Day! :D


No comments:
Post a Comment